To "see" the model running, we need the "V" in MVC .. the View. There are several views available, we'll use TwoDraw.js
You can see this in action with our PheromoneModel and see the code via the view-source capability
TwoDraw
First, the Pheromone Model does not change. Rather you add TwoDraw and modify the HTML.
- We add new imports: TwoDraw, ColorMap, Animator
- We create a colorMap, like we saw in Snippets
- We instantiate the PheromoneModel model
- We instantiate TwoDraw
- And finally we introduce an Animator which runs the model and view.
It looks like this:
TwoDraw HTML
<html>
    <head>
        <title>Pheromone</title>
    </head>

    <body>
        <script type="module">
            import * as util from 'https://code.agentscript.org/src/utils.js'
            import TwoDraw from 'https://code.agentscript.org/src/TwoDraw.js'
            import ColorMap from 'https://code.agentscript.org/src/ColorMap.js'
            import Animator from 'https://code.agentscript.org/src/Animator.js'
            import Model from 'https://code.agentscript.org/models/PheromoneModel.js'

            const colorMap = ColorMap.gradientColorMap(8, [
                'black',
                'purple',
                'yellow',
            ])

            const model = new Model() // no arguments => use default world options
            model.setup()

            const view = new TwoDraw(model, {
                div: 'modelDiv',
                patchSize: 20,
                drawOptions: {
                    turtlesSize: 2,
                    patchesColor: p => colorMap.scaleColor(p.pheromone, 0, 100),
                },
            })

            const anim = new Animator(
                () => {
                    model.step()
                    view.draw()
                },
                500, // run 500 steps
                30 // 30 fps
            )

            util.toWindow({ util, model, view, anim })
        </script>
        <div id="modelDiv"></div>
    </body>
</html>
This is available at: https://code.agentscript.org/views2mv/pheromone.html.
Running Locally
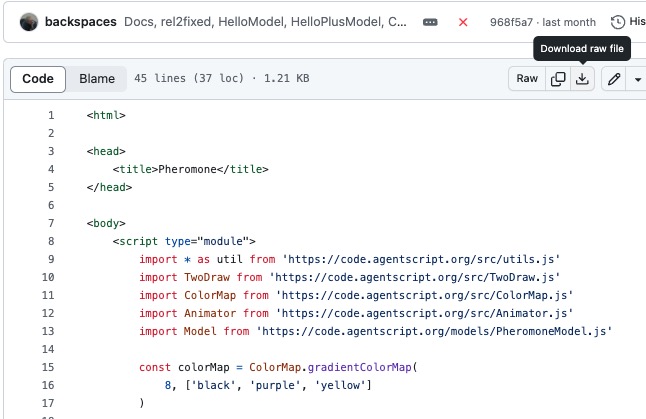
While we're here, lets run this locally in the browser. We'll down load the above by going to github: https://github.com/backspaces/agentscript/blob/master/views2mv/pheromone.html

Download this to your Downloads folder by clicking on the down-arrow.
You'll find this in your downloads folder

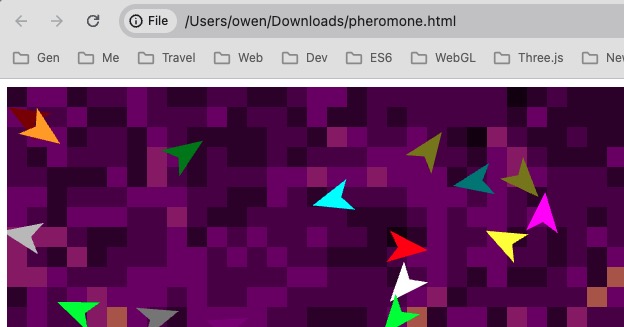
Now just double-click this. Your browser will show:

Notice the file url shown in the browser url area.
The file url: file:///Users/owen/Downloads/pheromone.html has limitations our https:// urls do not have but this is still useful for simple modifications.
TwoDraw Options
TwoDraw above takes the HTML div where we will place the view and the size of patches in pixels. It also takes drawOptions containing the drawing properties. Here are the defaults.
    static defaultOptions(model) {
        return {
            patchesColor: 'random',
            initPatches: null,

            turtles: model.turtles,
            turtlesColor: 'random',
            turtlesStrokeColor: 'random',
            turtlesShape: 'dart',
            turtlesSize: 1,
            turtlesRotate: true,

            links: model.links,
            linksColor: 'random',
            linksWidth: 1,

            textProperty: null,
            textSize: 0.5,
            textColor: 'black',

            patchesMap: 'DarkGray',
            turtlesMap: 'Basic16',
        }
    }
You can quickly see your model by omitting the drawOptions thus giving you defaults. Comment out the draw options in your local pheromone.html:
drawOptions: {
    // turtlesSize: 2,
    // patchesColor: (p) => colorMap.scaleColor(p.pheromone, 0, 100)
}
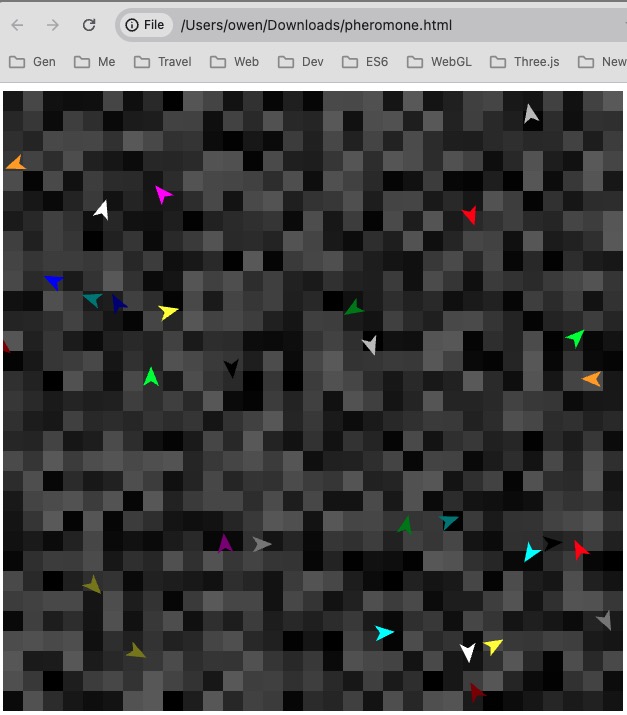
And double click pheromone.html ..you'll get this:

.. which lets you see that the view is working without having to think about the draw options.
Un-comment out the options for turtleSize (in patches) and a function for patchesColor using the colorMap:
drawOptions: {
    turtlesSize: 2,
    patchesColor: (p) => colorMap.scaleColor(p.pheromone, 0, 100)
}
Adding back the drawOptions for turtleSize (in patches) and a function for patchesColor using the colorMap, you'll get the color version above.
More pheromone.html Options
Here are several changes to pheromone.html to try:
Edit your local pheromone.html, changing 30 (fps) to 1, save it and restart it in the browser. You'll get very slow turtles.
Edit changing 1 to 60 and they'll zoom along!
Edit again, changing turtlesSize to 4, save & restart and your turtles get bigger.
Change the colorMap black to blue, change turtlesSize back to 2, and the color scheme changes nicely.
What happens if you change 500 to -1?
Yup, the -1 means "forever", i.e. the animator keeps going.
Change back to original values: purple, 2, 500, 30 and save & restart.
If we look at https://code.agentscript.org/models/PheromoneModel.js you'll see:
// Here are the variables we'll use. They are accessed via "this.population" etc.
population = 30 // number of turtles
rotateAngle = 50 // rotate between -25 & +25
addPheromone = 10 // how much to add to patches under a turtle
evaporateToo = true // decrease all patches pheromone too?
evaporateDelta = 0.99 // how much to decrease pheromone as fraction
We can change these right before model.setup() to different values. Here's how we can change to 100 turtles:
const model = new Model() // no arguments => use default world options
model.population = 100
model.setup()
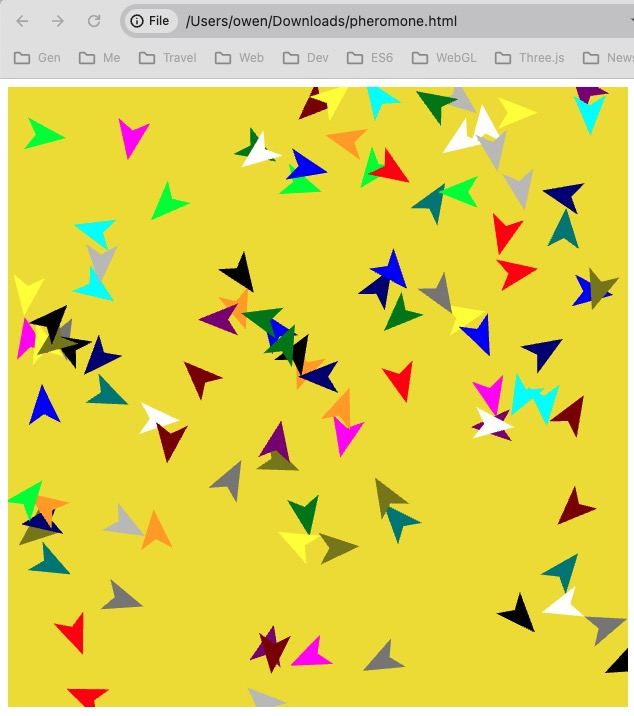
Save and restart .. you'll see the patches yellow arrives faster due to more turtles dropping pheromone.
Similarly change rotateAngle to zero and the wiggle goes away.
Set evaporateToo to false, and we arrive at solid yellow more quickly.

Summary
We've now learned about much of the AgentScript core features:
- AgentScript and MVC architecture
- The JavaScript Language
- The Browser, the Developer Console and view-source
- The Model using the HelloModel, and how it is embedded in HTML files
- The View, using the PheromoneModel, and how to edit it locally
Next up we'll look at the "C" in MVC and how to run AgentScript in the CodePen server.